316.303.8485
Step 1
Step 2
Step 3
Step 4
Step 5
Step 6
Step 7
Step 8
Step 9
Step 1
Step 1
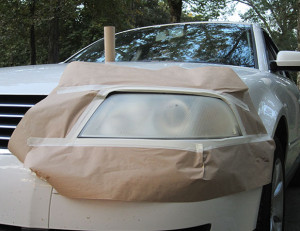
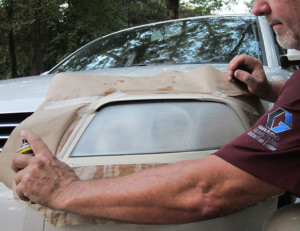
With the 6” paper and tape, cover-up all around the headlight area. Tape down the edges of paper so the wind cannot blow paper around. Apply 2 layers of tape around edge of headlight for added protection.
Step 2
Step 2
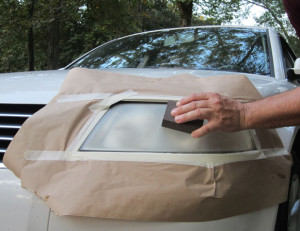
First take the sanding block, sanding the entire surface of the headlight. Some headlights will just have a “yellow layer,” others will have a “cloudy layer.” Both have to be completely sanded-off in this sanding process.
Step 3

Step 3
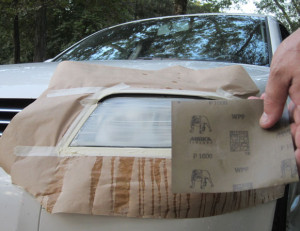
Then take a sheet of 600 grit sandpaper water-sanding the entire headlight surface smooth until the “balling-up” on sandpaper no longer appears.
Step 4
Step 4
Then take a sheet of 1000 grit sand-paper wet-sanding entire headlight smooth. The more you sand with 600 and 1000 grits, the better the end-results will produce!
Step 5

Step 5
Then take the white rag and clean the entire headlight surface of dust, lightly wipe-off the dust on the headlight surface. Wipe and clean entire surface!
Step 6
Step 6
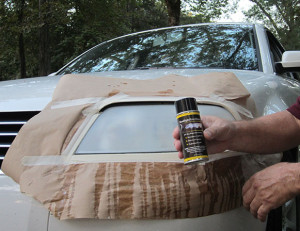
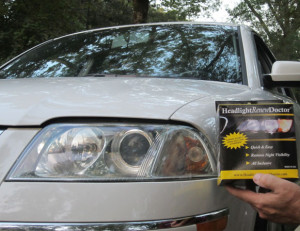
Next take the “Headlight Renew” spray can from your box and shake for 3-4 minutes.
Step 7
Step 7
Using the spray can, spray an even “semi-gloss-coat” over entire headlight surface using sweeping left to right motion. Allow 1st coat to dry approx. 2-3 minutes.* Then apply a second gloss-coat coat evenly over entire surface. Refer to website video for applying UV Ray protective Sealant process! (You may want to practice spraying a small amount on a board before applying Sealant to the headlight.)
Step 8
Step 8
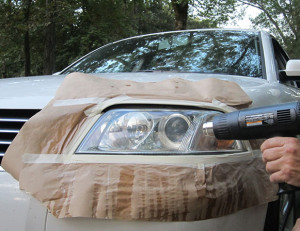
If a “cloudiness” appears in spray, use a hairdryer or a heatgun and apply hot-air on headlight for 30 seconds and “cloudiness” will disappear!
Step 9
Step 9
Proceed to 2nd headlight and repeat process beginning with Step # 1. Allow both headlights to let dry for about 5 minutes, and then remove all tape and paper carefully from your automobile using caution not to touch headlights. For best results: 1st coat is semi-gloss coat, 2nd coat is the gloss-coat!